

書式付入力ボックス ~ RichTextArea の利用
GWT 組み込みの書式付入力ボックスは、RichTextArea ウィジェットです。 RichTextArea を利用すると、このスクリーンショットのような入力ボックスが利用できます。
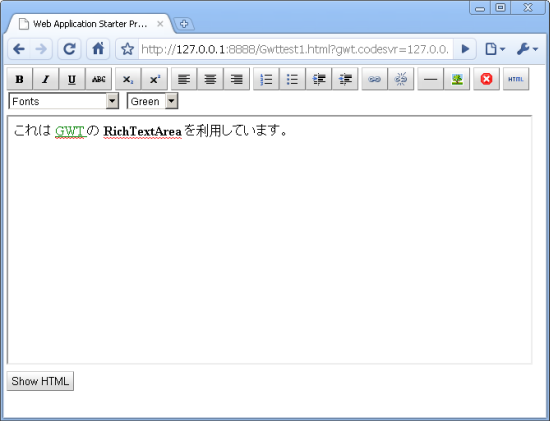
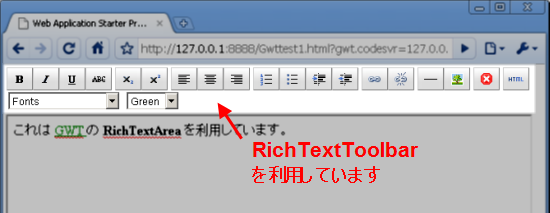
ただし、このうちツールバーの部分は現時点で GWT ネイティブのものはないので、 後述の RichTextToolbar を利用しています。
利用例
では早速、上記スクリーンショットのコード例を示します。
まず、ホストページに次のように ID を割り当てた div 要素を設定します。
<table style="width:600px;">
<tr><td><div id="toolBar"></div></td></tr>
<tr><td><div id="textArea"></div></td></tr>
<tr><td><div id="showButton"></div></td></tr>
</table>
Java コードは次のようになります。
package com.keicode.gwt.test.client;


import com.google.gwt.core.client.EntryPoint;
import com.google.gwt.event.dom.client.ClickEvent;
import com.google.gwt.event.dom.client.ClickHandler;
import com.google.gwt.user.client.Window;
import com.google.gwt.user.client.ui.Button;
import com.google.gwt.user.client.ui.RichTextArea;
import com.google.gwt.user.client.ui.RootPanel;


public class Gwttest1 implements EntryPoint {

  public void onModuleLoad() {

    final RichTextArea richText = new RichTextArea();
    final RichTextToolbar toolBar = new RichTextToolbar(richText);
    final Button showButton = new Button("Show HTML");

    showButton.addClickHandler(new ClickHandler() {

      @Override
      public void onClick(ClickEvent event) {
        Window.alert(richText.getText());
      }

    });

    toolBar.setSize("100%","50px");
    richText.setSize("100%", "300px");

    RootPanel.get("toolBar").add(toolBar);
    RootPanel.get("textArea").add(richText);
    RootPanel.get("showButton").add(showButton);
  }
}
ここで、書式を操作するツールバーの部分は GWT のギャラリーページにある RichTextToolbar を利用しています。 これは、Apache 2.0 ライセンスで配布されています。必要に応じて、ダウンロードして使ってください。基本的にパッケージ名を変えるなどする程度でそのまま使えるはずです。
HTML モードへの切り替え
ちなみに、 HTML の直接編集をさせたくない場合も多いと思いますが、その場合は上の RichTextToolbar の ToggleButton 型の texthtml とそれに関連するコードをコメントアウトすれば OK です。
private ToggleButton texthtml;
セキュリティを確保するためには、入力された HTML のサニタイズが必要です。 OWASP AntiSamy 等を利用しましょう。